Where to Use the Red Keycard: Endgame Monuments and Top Loot#
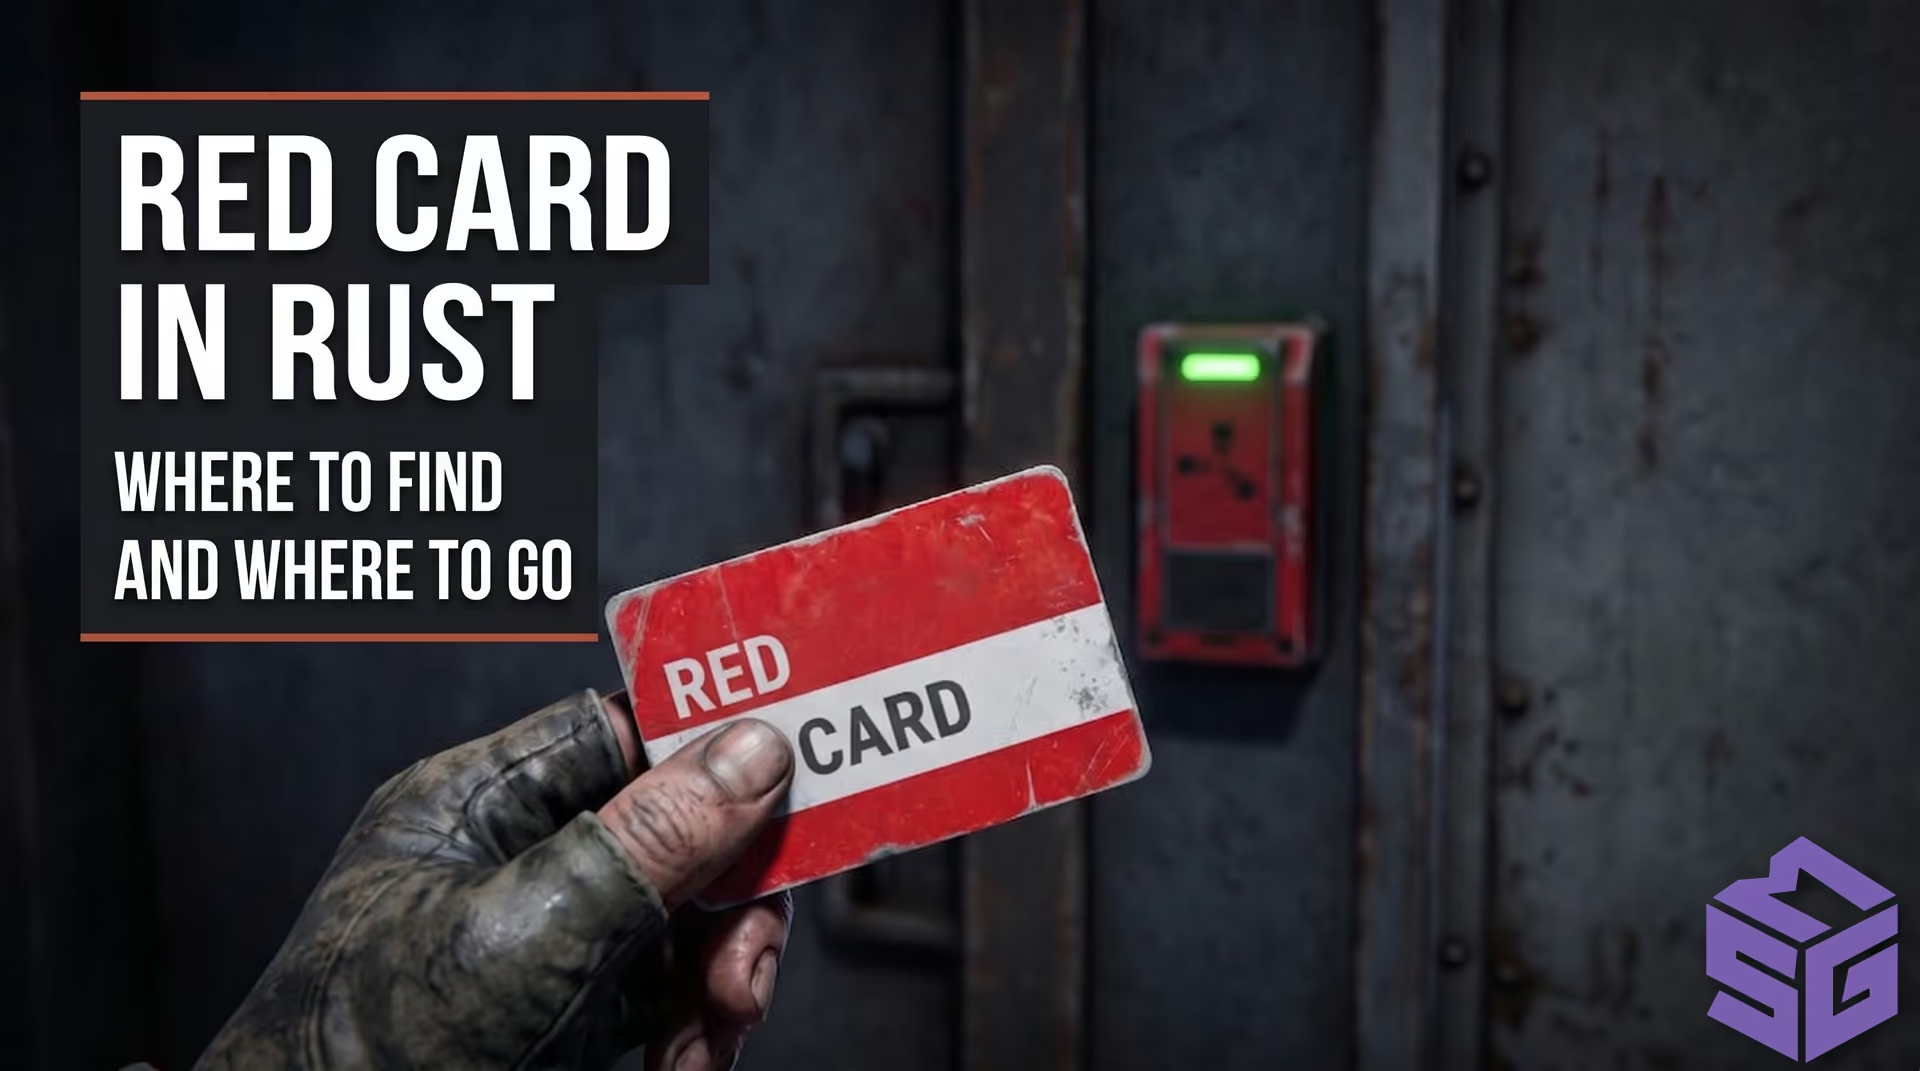
Red Keycards unlock the highest tier of loot rooms across Tier 3 monuments. Behind these blast doors lie Elite Crates containing Assault Rifles (AK-47), Heavy Plate and Metal Armor sets, Timed Explosive Charges (C4), Rockets, and Tier 3 workbench components. Contesting elite loot at these hotspots invariably means clashing with geared roaming groups and clans. Before staging a run, check out our comprehensive guide to the best cheats for Rust to find the software tailored to your playstyle.
Red Keycard Monuments: Requirements, Threats, and Loot#
| Monument | Required Items | Radiation Threshold | Primary Hazards | Core Room Loot |
|---|
| Launch Site | Green + Red Keycards, 2 Fuses | Extreme (core ~51–52 Rad/s) | Bradley APC, radiation bleed through Hazmat | 3 Elite Crates on the roof, Military Crates inside factory |
| Military Tunnels | Green + Blue + Red Keycards, 1 Fuse | Medium (~25 Rad/s) | Scientists with Spas-12 and MP5 in close quarters | Elite train car + lab loot room |
| Nuclear Missile Silo | 1x Red Keycard (0 Fuses) | Medium (Hazmat is sufficient) | Guards equipped with Night Vision Goggles (NVG) | 4 Elite Crates scattered across facility tiers |
| Large Oil Rig | 1x Red Keycard (0 Fuses) | 0 Rad (open ocean) | Heavy Scientist drop via CH-47 Chinook | Elite Crates + Locked Crate |
| Small Oil Rig | 1x Blue + 1x Red Keycards | 0 Rad (open ocean) | Blue Scientists, helicopter reinforcement drop | Level 4 Elite Crate + blue room |
| Underwater Labs | Procedural set (cards + fuses) | 0 to 52 Rad in flooded modules | Underwater ambushes, deep sea access (requires submarine) | Elite components, HQM crates |
1. Launch Site — Radiation Threshold and 3 Elite Crates on the Roof#
Conquering the main Launch Site assembly building requires active radiation management: the ambient radiation near the monument's core reaches 51–52 rads per second. Because a Hazmat Suit provides only 50% radiation protection, the excess radiation bleeds through and rapidly builds up in your toxicity meter.
- Prepare your loadout: in addition to a Hazmat Suit, bring two full Water Jugs of clean water, at least 15 Medical Syringes, and ample ammo. Drinking water purges accumulated radiation on demand (each sip clears exactly 5 rads).
- Head to the green door building near the hangars, swipe your Green Keycard, insert 1 fuse, and flip the switch.
- Sprint over to the standalone electrical substation marked D11 and toggle the wall switch.
- Cross to the concrete bunker (Bunker 2) near the train tracks, install your second fuse into the panel, and flip the switch.
- Sprint to the front entrance of the main assembly building: the reader is now powered—swipe your Red Keycard.
- Climb the interior stairwells, catwalks, and pipes to reach the roof while continuously flushing radiation with water, then loot the 3 Elite Crates beside the crashed helicopter.
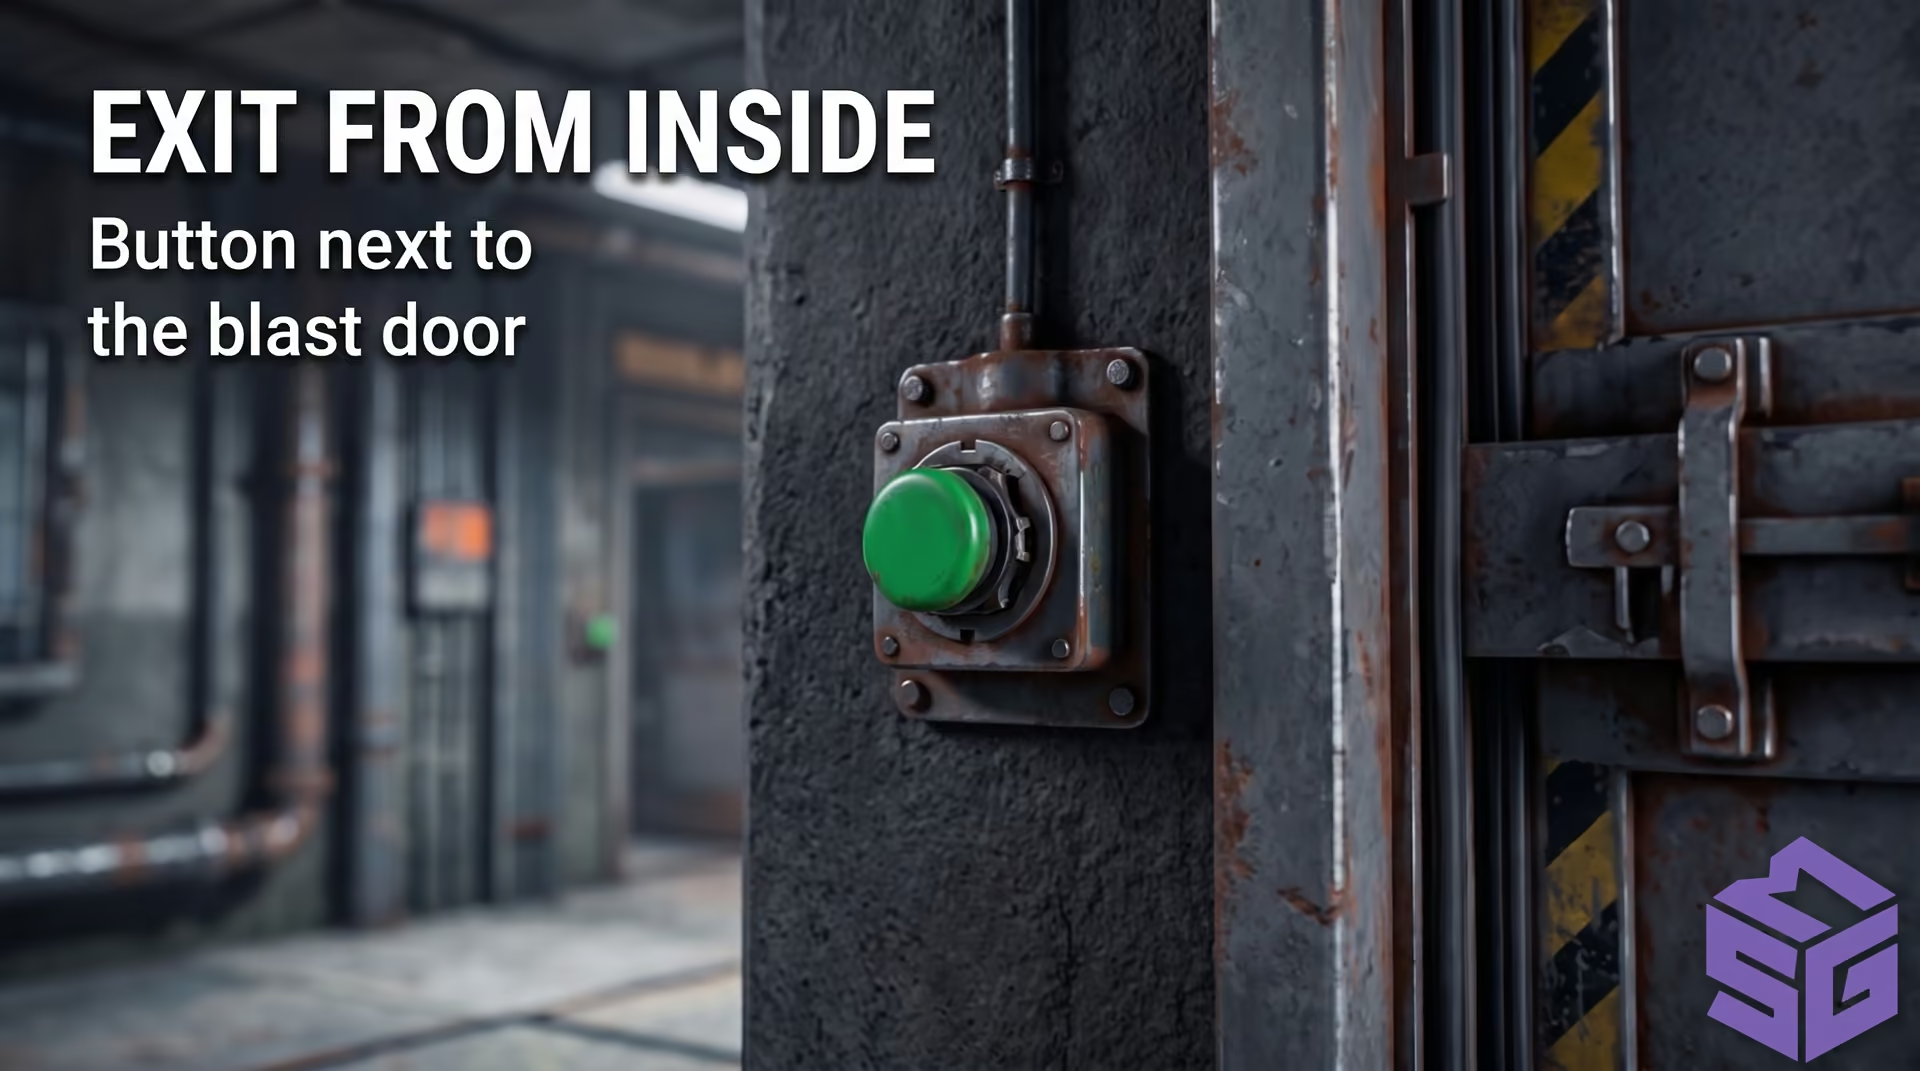
- Descend via the interior stairs (or parachute off the back of the building). To exit on the ground floor, enter the Auxiliary Power room and pull the wall lever to release the blast doors.

Launch Site main building: 3 Elite Crates spawn on the roof near the crashed helicopter
2. Military Tunnels — Clearing the Elite Train Compound#
In Military Tunnels, you must clear the scientists before starting the circuit timer—otherwise, your fuse will burn out mid-firefight.
- Pick off the scientists stationed along the right train tunnel from long range. Enter the Armory, insert 1 fuse into the box, and flip the switch.
- Push forward down the tracks past the Cobalt missile, squeeze through the breached chain-link fence, and unlock the green door with your Green Keycard. Inside, throw the switch supplying power to the lab.
- Move down toward the train carriages and loot the Military Crates in the open boxcar.
- Approach the blue lab door, swipe your Blue Keycard, flip the secondary switch inside, and swipe your Red Keycard at the final reader.
- Eliminate the scientists guarding the red room, loot the Elite Crates, and exit down the corridor via the manual push button.
3. Nuclear Missile Silo — Red-Tier Descent#
The Missile Silo ranks as a designated red-tier monument. Press the hatch button on the surface, descend through the spiral levels, and eliminate the NVG-equipped guards. At the bottom sublevel, your Red Keycard unlocks the sealed bunker. Unlike other monuments, the facility's 4 Elite Crates are spread across multiple tiers rather than clustered in a single room.
4. Large and Small Oil Rigs — Offshore Assaults#
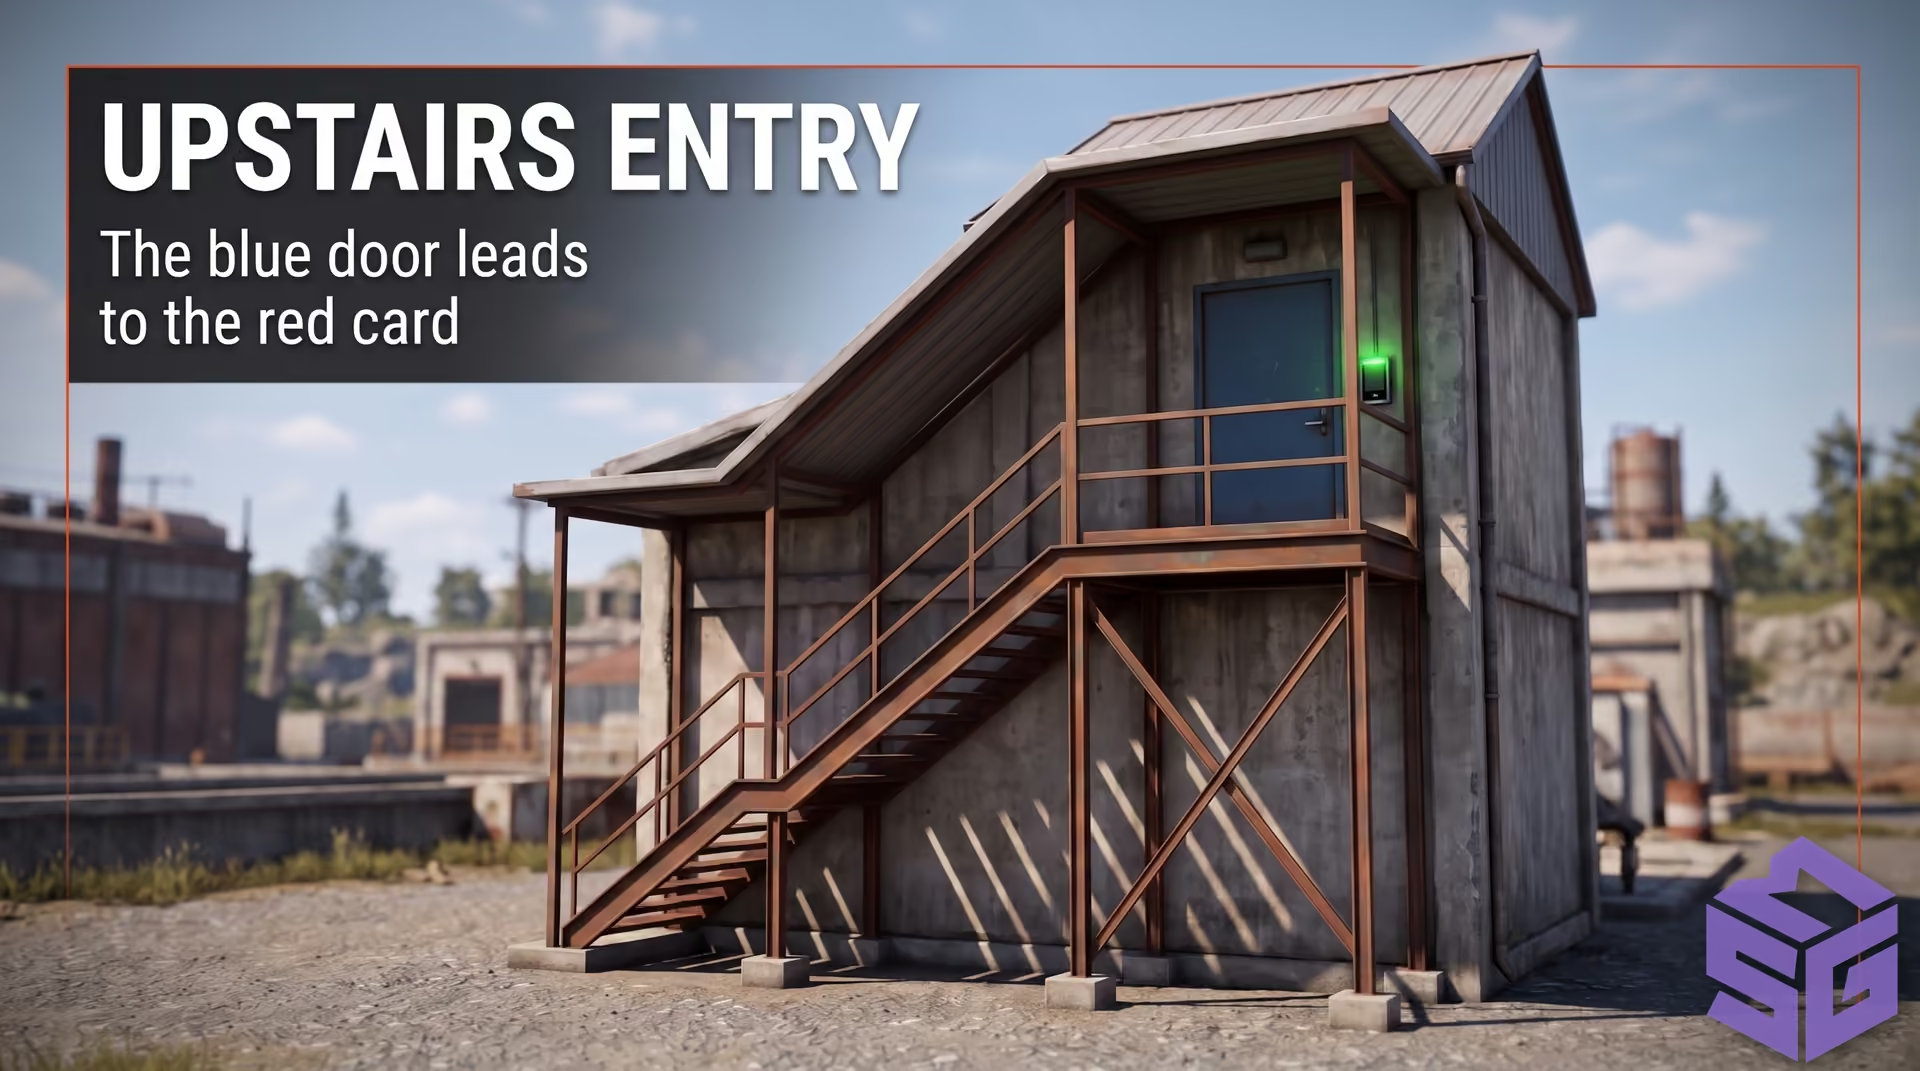
The electronic card readers on both Oil Rigs are permanently powered—no fuses required. On Small Oil Rig, the red room sits on level 4 behind the blue door. On Large Oil Rig, the red door is located on level 6 directly beneath the helipad. Cracking the Locked Crate inside the red sector triggers a 15-minute countdown and calls in a CH-47 Chinook carrying a squad of Heavy Scientists.
5. Underwater Labs — Procedural Layouts#
Underwater Labs are procedurally generated, meaning a Red Keycard room is not guaranteed at every station. Depending on module layout, accessing the red room requires either a direct Red Keycard plus 2 fuses combination or a stepped entry through a blue puzzle door. Note that certain flooded modules spike up to 52 Rad, making a wetsuit and steady health monitoring essential.

 24
24